When you step outside and look at the stars in the night sky, chances are you imagine how amazing it would be to be able to see more of them. By owning a telescope, you can drastically increase how much you see behind the curtain of the sky. It’s no surprise that understanding telescopes is key to enjoying amateur astronomy.
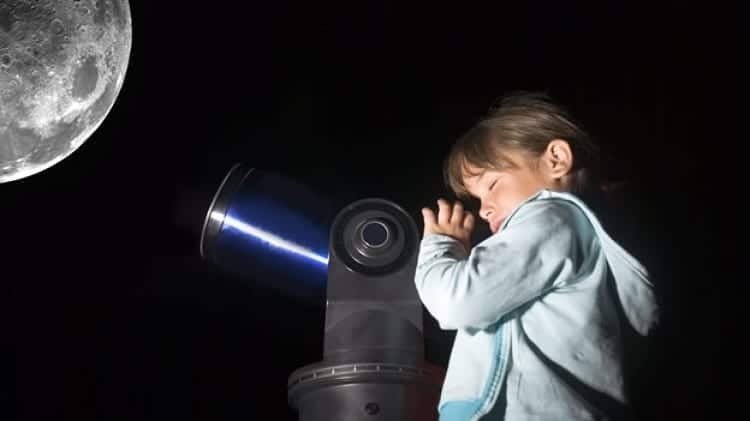
How much can you really see with a telescope?
Depending on the type of telescope you have, you’ll be able to see the moon, its craters, planets, and their details, as well as stars and nebulae!
There is a ton to explore, but let’s first dig into telescopes in greater detail. With that in mind, here’s your telescope guide.
A Brief History Of Telescopes
When Did Telescopes Come About?
We can trace telescopes all the way back to 1608. The first telescope was created by an eyeglass maker called Hans Lippershey. He was the first person to patent a telescope.
What his telescope, which he called kijker (meaning “looker”), could do was increase one’s magnification by three times. It was sort of like a Barlow lens that’s available today! It consisted of a convex objective lens that was connected to a concave eyepiece.
This telescope intrigued a man by the name of Jacques Bovedere, who took the invention to Galileo Galilei. He was so inspired by the telescope that he started making his own!
This telescope was set to make history for two important reasons. First, Galilei’s telescope could reach a magnification of up to 20 times.
It was also the first time in history that someone was to hold a telescope up to the sky.
While we might assume that the telescope was not as powerful as those we see on the market today, Galilei’s telescope was used to spot many celestial objects in the sky, such as the moon’s craters, Jupiter’s moons (which he discovered, by the way) and even the Milky Way (via Interesting Engineering)!
Needless to say, these events sparked other people to want to invent their own telescopes. One of them was a man by the name of Johannes Kepler.
In 1611, he created his own telescope with the use of two convex lenses, and it was called the Keplerian Telescope. It enhanced the way telescopes could view images but made them appear upside-down. He was the first person to explain how a telescope worked, though.
It was in 1668 that Sir Isaac Newton would develop Kepler’s work so that telescopes would contain mirrors instead of lenses. He designed the first reflecting telescope called the Newtonian Telescope, which we still know of today!
More developments were made over the next several decades, then, in 1729, a man by the name of Chester Moore Hall reduced chromatic aberration in refractors by creating a lens that had two types of glass in it, a crown and a flint.
His discovery led him to create many telescopes with apertures of 6.5cm and focal lengths of 50cm.
In 1789, William Herschel developed the first large reflector telescope that was 12 meters long! But it had some issues, so he opted for six-meter-long telescopes instead for use in astronomy.
The focus on large telescopes led to the development of the world’s first radio telescope in the 1950s.
And, of course, in 1990, NASA and ESA joined forces to use the Hubble Space Telescope – it was the first telescope that went to space, even though it wasn’t the first space telescope. However, it is one of the largest.
There was also the invention of the compound telescope. Otherwise known as a catadioptric telescope, this is a blend of both refractor and reflector components. It was created in 1930 by Bernhard Schmidt.
It had a main mirror at the back and a glass plate at the front. The telescope could be used for photography because it allowed the photographic film to be put at the prime focus of the main mirror (via How Stuff Works).
Today, this kind of telescope is still around – it’s the Schmidt-Cassegrain design that was created in the 1960s. How it works is that it uses a second mirror that bounces light through a hole in the main mirror and onto an eyepiece.
How Do Telescopes Work?
Many telescopes work with the use of lenses. These telescopes are called refracting telescopes.
In the same way that the lenses in a pair of eyeglasses will bend the light that moves through them to enable the wearer to see things more clearly, a telescope makes objects that are very far away appear closer to us.
Another, also popular type of telescope is the reflecting telescope. This makes use of mirrors instead of lenses, usually two mirrors.
One mirror is curved and is a bit like a spoon in that it makes the image upside-down, but the other mirror is used to turn the image so that it’s the right side up. Mirrors are beneficial for use in telescopes because they’re not as heavy as lenses, which makes them easier to work with.
What both telescopes have in common is that they collect as much light as they can from celestial objects and pull that light into a point so that it can be focused.
The refractor does this with the use of an objective lens, and the reflector does this with the use of its primary mirror.
Then, the eyepiece (which is a lens) collects that light so that it will bring a large part of it to the retina in the human eye. The combination of the lens/mirror with the eyepiece is what produces a telescope, as these are the most important components of it!
As for how they are made, a refractor telescope contains a long telescope tube that can be made out of metal, plastic, or wood; a glass combination lens that’s located at the front end – this is the objective lens, and a second glass combination lens – this is the eyepiece.
The eyepiece is important because it’s a component of the telescope that collects light so that images you see through the telescope can be clear and bright.
A reflector telescope, on the other hand, has its main mirror at the end of the telescope tube. Its front surface is coated with a film of aluminum, while the back of the mirror is made of glass. The tube contains the mirror, secondary mirror, and eyepiece.
A popular type of reflector is the Dobsonian telescope. This type of telescope is loved by beginner astronomers because it’s affordable, easy to use and set up, and intuitive.
What about compound telescopes?
As mentioned earlier, compound telescopes are a combination of refractor and reflector telescopes. These are still available today.
They make use of both lenses and mirrors, and the most popular types you can find are the Maksutov-Cassegrain and Schmidt-Cassegrain scopes.
Compound telescopes have various benefits, such as that they’re more compact than other types of telescopes and they can be used with lighter mounts.
How To Use Your Telescope
If you’ve just purchased a telescope, you might find that it seems or looks overwhelming to use.
But it doesn’t have to be! Here’s what you should do to start using and enjoying it.
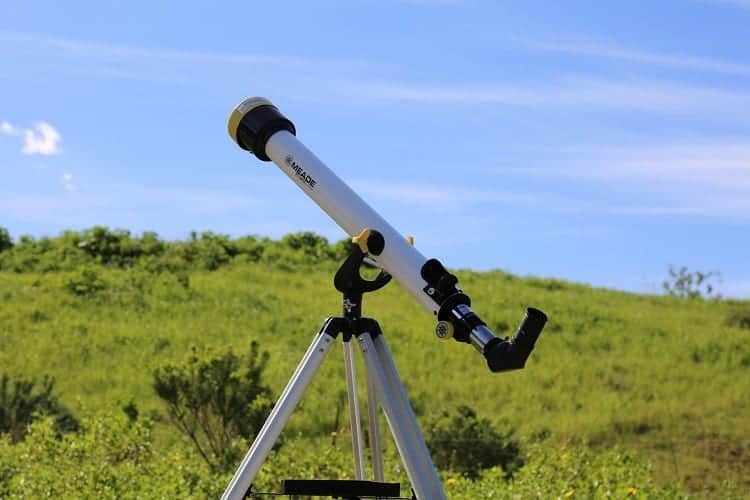
Step One: Make Sure Your Tripod Is Level
Word to the wise: you need a telescope tripod so that it will keep it as still as possible so that your views of the celestial objects won’t be blurry.
Make sure your tripod is level. Set it on a flat, even surface and adjust the tripod legs to ensure it’s stable. A bubble level might come in handy with this task.
Step Two: Align Your Telescope
You will need to ensure that your telescope is properly aligned so that it will be able to find celestial objects.
If your mount is an altazimuth one, your telescope can be set down so that it will point in any direction. If you have an equatorial mount, you should put the telescope on the ground, so its polar axis is facing north.
Hint: to enable you to locate North, use a compass. Make sure you read the instruction manual of your telescope so that you can see if there are specific instructions you need to follow when aligning it.
Step Three: Align The Finder
Next, you need to adjust your telescope finder. Again, this is important so that you will be able to locate celestial objects.
Take your low-powered eyepiece and put that into the eyepiece holder, then center the largest object in the sky (such as the moon – never use your telescope to look at the sun!) in the field of view of the eyepiece.
View it through the finder and make adjustments so that the object is centered properly. This is important to do before you use your telescope to find objects in the sky.
Step Four: Always Start With A Low-Power Eyepiece
Although your tendency might be to reach for a high-power eyepiece, you should choose a low-power one so that it will let you know if the seeing conditions are good for stargazing.
If you use a low-power eyepiece and the planet you’re trying to view is wiggling around or very blurry, then this is a sign that it could be a bad night for planet-hunting because of poor visibility conditions.
Using a low-power eyepiece to start with is also important because it will prevent you from using a high magnification that could narrow your field of view. Think about how you’d want to have a wider field of view to find something before you zoom into it.
Step Five: Use Your Focuser
Always use this to focus the image so that you can capture as many details as possible.
If you’re battling to focus with the telescope, such as because the seeing conditions aren’t that great, you should carefully adjust the focuser until you feel you’ve moved past the best focus level, then go back to it.
The focuser of the telescope is what moves the eyepiece holder so that you can adjust your view.
Step Six: Use Filters
The moon is easy to see, followed by planets such as Jupiter and Venus. But for planets and galaxies that are further away, you might want to make use of color filters to see them better.
Filters help to reduce the glare around you so that you can better see the planets and stars in greater detail and color.
Step Seven: Let Your Eyes Adjust
When you step out into a dark location that’s free of street lights and other light sources in order to view a planet or star, you want to ensure that you’ve given your eyes a chance to adapt.
This could take about 20 minutes.
Step Eight: Find Something To Look For
You can’t stumble around trying to find something in the night sky. That’s like driving a car in a neighborhood you’ve never been in without GPS!
You should consult with star maps (there are star map apps that are fantastic, such as Star Chart) in order to find something you want to look for with your telescope. Another app that’s worth getting is SkySafari. Point it at the sky, and it will show you what’s there.
Step Nine: Choose The Right Place
You want to try your luck at looking at celestial objects from a location where there’s minimal light pollution, so your best bet is to head out of the city so that the streetlights, household lights, and incandescent bulbs don’t get in the way of what you can see.
If that’s not possible, try to view the sky from a high spot in the city and make use of light pollution filters.
Common Telescope Features And What They Mean
If you’ve heard about things like aperture, focal length, and other telescope terms, you might have wondered what they mean.
Here’s your crash course in all things telescope!
Aperture
The telescope aperture basically refers to the objective lens of your telescope. Its diameter is really important because it’s what brings in light.
You want it as wide as possible when trying to make sense of the night sky – aim for a telescope that has a 70mm aperture at least.
Focal Length
This is the distance from the telescope’s main optic to the place where the image is formed.
If you want a wider field of view, such as when viewing galaxies, you want to look for a shorter focal length. A longer focal length will give you a narrow field of view but it will make the objects seem larger, so it’s good for viewing planets.
Magnification
While you might think more magnification is better, this isn’t always the case.
It’s said that the minimum telescope magnification you need is twice its aperture in millimeters (via Sky and Telescope). This will enable you to zoom in and see details. But remember that the higher the magnification, the narrower your field of view!
Mount
There are two main types of telescope mounts. These are:
Altazimuth mounts
These mounts are simple to use, and they have an altitude axis that enables the mount to move up and down as well as from left to right.
They are excellent at helping you scan the night sky at low power, but they’re not powerful enough for deep-sky photography. Altazimuth mounts are light and portable.
Equatorial mounts
These mounts have a declination axis so you can move the telescope up and down and a right ascension axis so you can move it left to right.
What makes it different from the altazimuth mount is that with the equatorial mount, the telescope’s polar axis needs to be polar aligned to the north pole. Doing this makes it effective at tracking celestial objects.
A popular type of equatorial mount is the German mount. It uses its weight to balance the telescope mass. By ensuring that the mount is turned at the same rate as Earth, it can make the telescope remain pointed at any celestial object all night long.
The long time with which it can track celestial objects makes the German equatorial mount ideal for astrophotography because you can use it to take long exposure photos. However, it can be tricky to set up and expensive.
What About The Fork Mount?
There’s another telescope mount that you should know about: the fork mount. This is designed in the same way as a fork: the telescope is attached to each end of a fork-like structure. Many professional telescopes today make use of fork mounts.
These can be set up quicker than German equatorial mounts, and they can be used for photography, but the eyepiece sometimes can be in an awkward position when the telescope is pointing north.
Which Telescope Is Best For You?
When choosing a telescope to buy, it’s important to focus on your needs and even where you live!
So, with that in mind, let’s look at how you can find the best telescope.
Consider Why You Need It
What do you need a telescope for? Do you want to view deep-sky objects, such as nebulae or just the moon?
This is important to ask yourself because it will influence the type of telescope you should purchase.
Basically, if you want to view the moon and planets, a refractor telescope is more suited to the task. On the other hand, if you want to view deep-sky objects like galaxies, you will be able to do that with a reflector.
Do You Want To Take Pictures Of Celestial Objects?
If you want to view and capture images of what you see in the night sky, you can use either a refractor or reflector, but your telescope will have to have certain important features. These include:
- The right focal length: a longer focal length will be more suited to taking photos of planets and the moon, and it provides larger images. A shorter one will help you to have a wider field of view, so it’s more suited for taking photos of large galaxies.
- A wide aperture: the wider the aperture (telescope lens), the more light will enter the telescope – and the more expensive your telescope is likely to be. If cost is something you need to consider when purchasing a telescope, bear that in mind.
Consider Your Age
If you’re really young and a beginner, you might want to consider a telescope that’s built specifically for beginners, such as ones that don’t require much setting up.
On the other hand, if you’re much older and not as mobile as you used to be, you want a telescope that’s both user-friendly and simple while also being portable and lightweight.
If you’re purchasing a telescope for a child, you need to consider that children from the age of around eight are old enough to use and enjoy telescopes, but refrain from purchasing one that’s for adults as it could be too complicated for them.
You can find many telescopes that are made specifically for kids, and they will have features that children will love, such as easy setup and smartphone adapters.
Think About Your Location
You can have the best telescope in the world, but it won’t provide you with quality views if you’re using it in an area that has tons of light pollution.
It’s worth downloading an app such as Sky Live that will keep you informed about the stargazing conditions, including light pollution, so you can choose the best night on which to find celestial objects in the sky.
Related Questions
How much can you see with a telescope?
Even with smaller telescopes that use lower magnification, you’ll be able to see planets, the moon, and stars. Larger instruments will allow you to zoom in and see more details, though.
What is more important than the type of telescope you own?
Factors such as light pollution and the seeing conditions play a huge role in how much you’ll be able to see. Even with the most expensive telescope in front of you, if the views are poor, you will not get quality views.
Conclusion
If you want to enter the exciting world of astronomy and astrophotography, you’ll need to ensure you own a telescope. Since the 1600s, telescopes have been intriguing people and inspiring them to look up at the sky.
If there was not much you knew about telescopes and what they’re all about, after reading this telescope guide, you now have a much better idea about telescopes and what makes them so valuable for beginner astronomers and professionals alike.