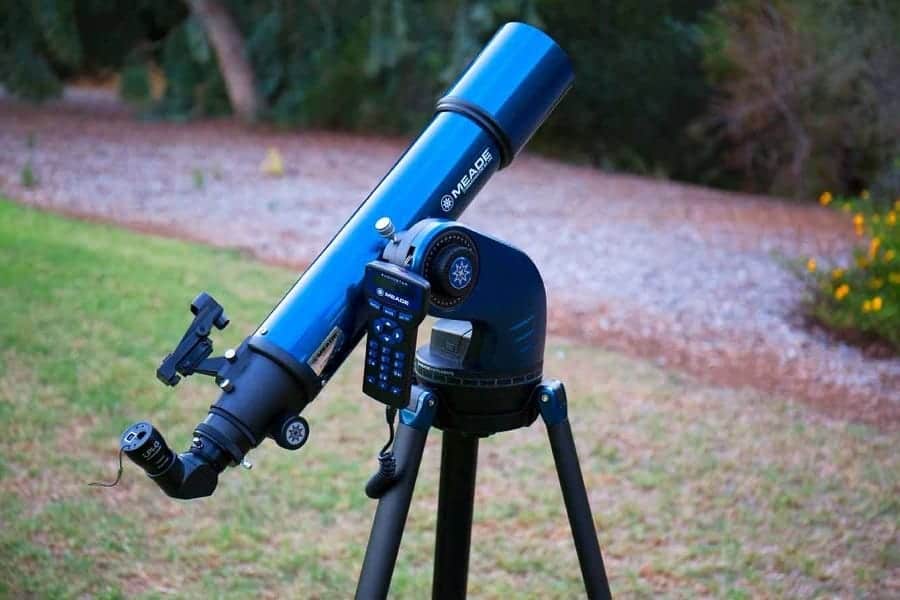
Refractor vs reflector that is the question… Most people seem to have a fairly generic idea of a telescope that they picture in their minds, particularly when shopping for one: A long, skinny instrument with a lens at one end mounted on a spindly but elegant tripod, with the eyepiece at the rear. This is the refracting telescope in its most basic form.
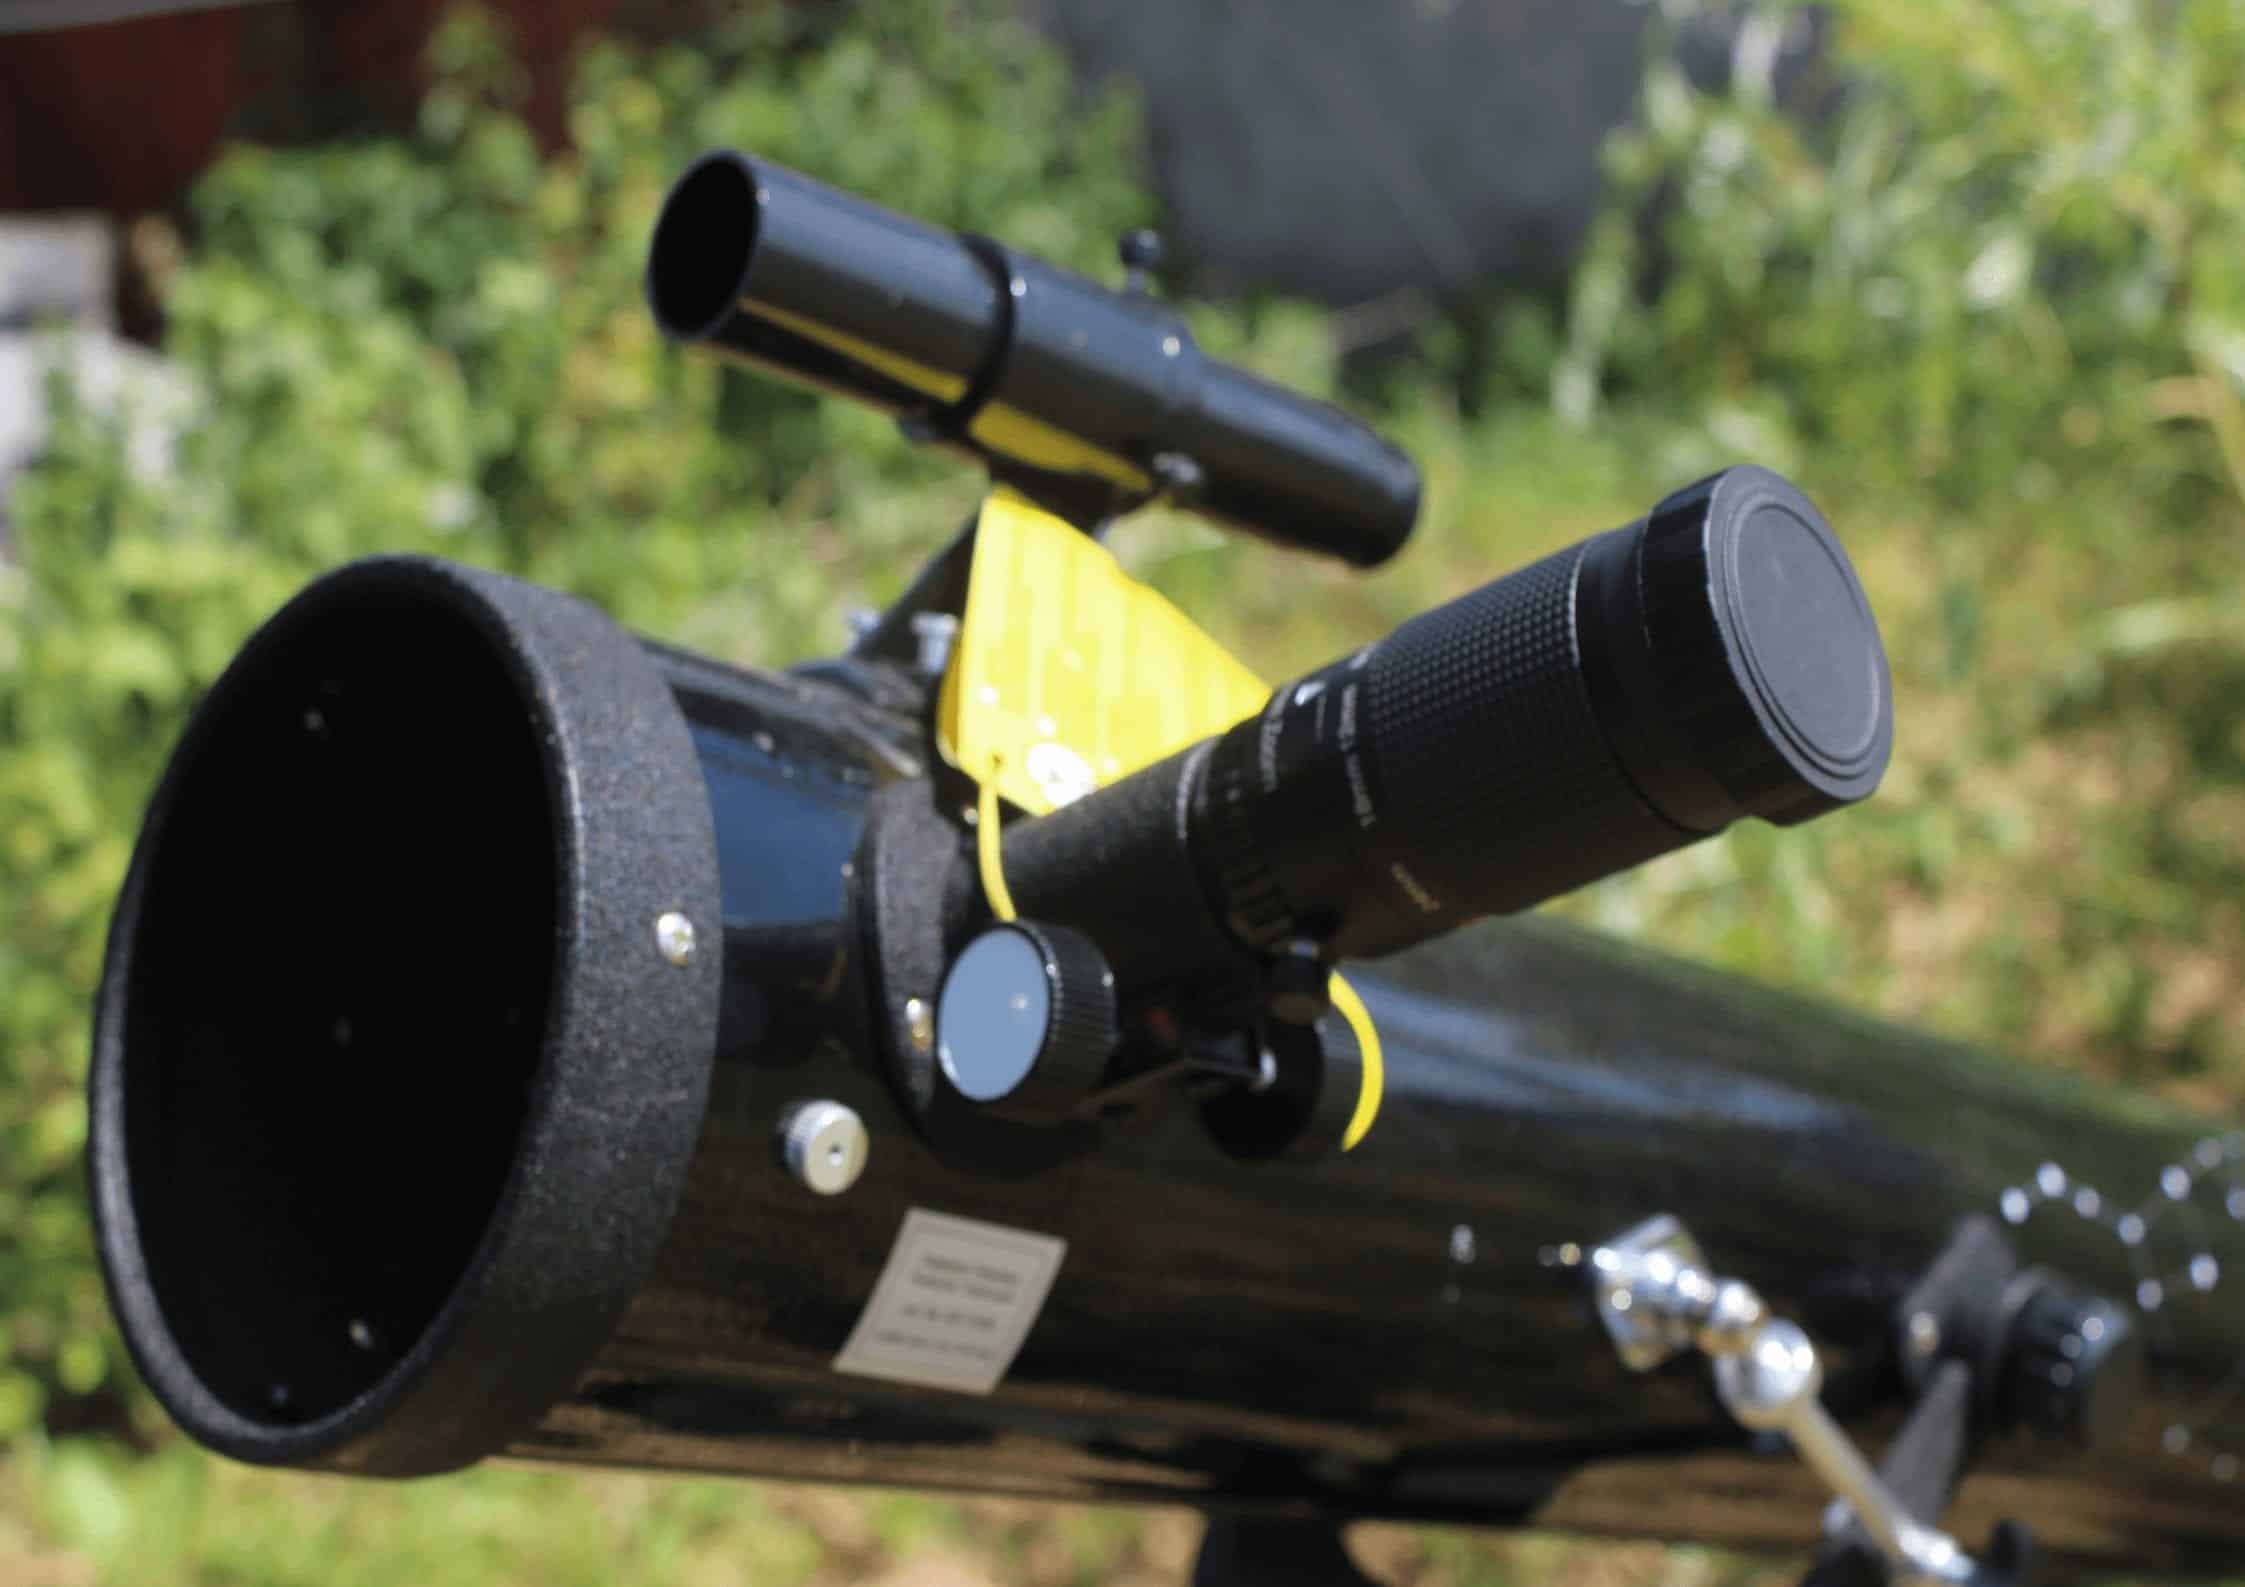
On the other hand, the vast majority of large amateur telescopes – and the vast majority of what is recommended to beginners – are rather undignified, fat, and large tubes with an eyepiece at the front, sometimes on a tripod but more often than not on a simple mounting resembling a giant cannon or missile launcher. These are reflecting telescopes.
While other optical configurations exist, most beginner telescopes and indeed most telescopes overall are of one of the two aforementioned optical configurations. Both have their own advantages and disadvantages, though on a dollar-for-dollar basis, reflectors usually win.
Before we go any further, let’s define a few basic terms that you’ll need to know when perusing the rest of this article as well as shopping for a telescope yourself. I you want to know more about how telescopes work, check out our ultimate guide to understanding telescopes.
Basic Terms
- Aperture: The diameter of the objective (front lens or primary mirror, usually the largest optical element), usually measured in inches or millimeters. The more aperture, the more resolving and light-gathering power your telescope has.
- Focal Length: The length of the path that the light travels in the optical tube of a telescope.
- Focal Ratio: Focal length/aperture usually expressed as F# such as f/5 or f/10
When we talk about a telescope, we are usually talking about a unit of two things: the telescope itself, usually referred to as the optical tube assembly or OTA, and the mount. This article will be focused on the optical tube assembly only.
There are a variety of different telescope mount designs, and either telescope configuration can go on multiple different types of mounts. For simplicity’s sake, we will not go into detail about those in this article.
Resolution scales linearly – a 6-inch telescope has twice the resolution of a 3. Light collecting power grows with area – so that same 6 telescope has quadruple the light gathering ability of a 3. The more resolution, the more fine detail you can see on objects, while more light gathering allows you to view fainter things more easily.
What is a Refracting Telescope?
A refracting telescope uses a curved, convex objective lens at the front to focus light by bending light rays to a single focal plane. Usually, refractors use a lens made of multiple elements or pieces of glass, usually slightly different kinds of glass. This is done to reduce chromatic aberration – a defect in all lenses that results in different colors or wavelengths of light having a different focal plane, which results in fuzzy images with not all colors being in focus at the same time.
Achromats have significantly less chromatic aberration than their singlet-lensed predecessors – though still enough that many achromats will have an obnoxious purple halo around bright objects. Indeed, all refractors have chromatic aberration – it is merely controlled better in some than others.
Chromatic aberration is reduced to negligible levels either by making the telescope’s focal ratio longer (above f/10) in achromats, or by adding special types of glass or extra lens elements to create ED doublets or apochromats – the latter of which tend to be heavy, expensive, and more optimized for photographic uses. Most refractors sold to beginners are achromats.
You could put the eyepiece directly behind the objective lens and peering straight ahead like a pirate’s spyglass. However, if you use a refractor in this configuration, you would have to be down on your knees to look through the eyepiece and be looking straight up into it – not exactly the most comfortable position to use.
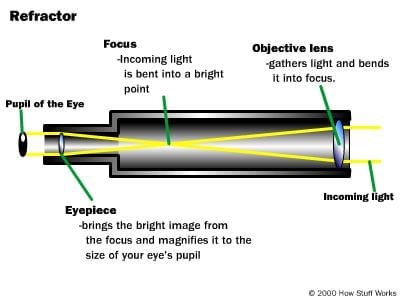
Astronomical refracting telescopes usually have a diagonal in the light path that bends the light through a 90-degree angle to place the eyepiece at a more convenient position. The eyepiece is usually inserted into the diagonal. There are diagonals sold as œerecting prisms that use a 45-degree angle, but these are better for daytime spotting scope use.
For astronomy, you want a dedicated 90-degree œstar diagonal. A star diagonal can use either a mirror or a prism to achieve its purpose. Prisms are easier to clean and last longer, but a mirror (especially a good dielectric one) will transmit slightly more light than a prism. In practice, the difference is negligible.
A refractor with a diagonal presents an image that is correct up and down but reversed left and right (like in a bathroom mirror). For astronomical purposes, this left-right flip is of little importance besides an aesthetic one, and for most terrestrial usage, it really doesn’t matter.
If you must have correctly-oriented views, you can get an erect-image diagonal that has a special type of prism to correct this left/right flip. However, these erect-image diagonals tend to be of lower quality and have more issues with glare than their standard counterparts, so if you want the sharpest views possible they should best be avoided.
Refractors are typically sold with apertures no larger than 6 inches. A 6 refractor is a massive telescope and with its mount will easily exceed 100 pounds. Larger sizes are even more unwieldy, and due to the prices of the special glass needed for the objective lens as well as the difficulty in manufacture, the prices skyrocket. As a result, you rarely ever see amateurs with larger refractors.
As a result of their relatively puny apertures, refractors are great for those who want a convenient small telescope, but their actual capabilities hit a hard limit – particularly on dimmer objects outside the Solar System.
Some refractors we’d recommend to beginners include:
- Meade Infinity 70
- Meade Polaris 80
- Meade Infinity 80
- Meade Infinity 90
- Meade Infinity 102
- Celestron StarSense Explorer DX 102AZ
What is a Reflecting Telescope?
The main type of reflecting telescope sold and made, as well as the one we will be discussing for the rest of this article, is the Newtonian reflecting type. It uses a concave, parabolic mirror to focus light, with a super-precise angled flat mirror deflecting the image outside the tube at a 90-degree angle to be viewed. The telescope’s focuser holds the eyepiece.
The reflector design produces an image that is rotated 180 degrees, or upside down (though not flipped left-right). This is not a big issue for astronomical purposes, as there is no up or down in space. However, this does render this type of scope impractical for terrestrial observations.

Because parabolic mirrors have fewer surfaces and are thus easier to make than lenses, combined with the cheapness of the relatively common plate or borosilicate glass used in most astronomical mirrors, reflectors can be made for very low costs and at very large sizes. An 8 reflector can be obtained for a similar cost to a 4 refractor but has double the resolution and quadruple the light gathering ability – while sporting zero chromatic aberration to boot.
Thanks to the fact that the eyepiece is placed at the top of the telescope, reflectors also don’t need to be placed high above the ground. Most reflecting telescopes for amateurs, especially large ones, are on what is called a Dobsonian mount, which dispenses with a tripod altogether and uses simple friction-based movements. These mounts are cheap, durable, and rock-solid and are easily scaled to large sizes.
The largest Dobsonian in the world has a 72 mirror; Dobs up to 25 inches can be found regularly and are easily transported with a decently sized automobile. A scope up to 14 or 16 inches will fit even in a sedan. Typical beginner reflectors are up to 10-12.
As the tube increases in size and bulk, it is dispensed with in telescopes above 10-12 and replaced with a knock-down aluminum truss tube with solid wooden or metal segments at the ends to hold the optics and attach hardware to them. This makes assembly more complicated and the telescopes more expensive, but the ease of transport more than compensates for this minor drawback.
Some reflectors we’d recommend to beginners include:
Which is better?
All optical devices represent a set of compromises. As such, there is no best design. However, we would still strongly urge a reflector over a refractor for the majority of users simply due to the reflector’s greater capabilities for the price and the simple hard barriers that refractors run into without spending thousands or even tens of thousands of dollars on them. With that in mind, let’s go over the advantages and disadvantages of each design.
Refractors
A key advantage of the refractor is that there is no secondary mirror obstructing the aperture in the middle. The secondary mirror of the reflector blocks some of the light coming into the tube – though not enough to significantly reduce the scope’s light-gathering capabilities. However, due to the laws of physics and diffraction, this obstruction also smears the image very slightly and results in a loss of contrast along with some fine detail.
The lack of obstruction means that a 3 refractor will, all other things being equal, have noticeably sharper images than a 3 reflector at high magnifications. However, this problem can simply be bulldozed through by getting a larger reflector, which is very easy to do considering that an 8 reflector costs about as much as a 4 refractor anyways.
Refractors tend to hold the alignment of the elements in the optical path because the front lenses are rigidly mounted. Refractors are fairly maintenance-free, making them popular for new astronomers. This may be another reason that the refractor design is incorporated into binoculars and most spotting scopes.

The primary disadvantage of an aperture-for-aperture basis of the refractor is the aforementioned problem of chromatic aberration. This is, in essence, only solved by spending more money or increasing the focal ratio, the latter of which makes for an unwieldy instrument with a narrow field of view.
The other disadvantage is, again, simply the cost. A good 4 refractor costs $400 or more. A 6 reflector can be bought for $300 and will beat the 4 refractor at everything. A 10 reflector costs $600, and no refractor can be bought for a sane price that will match its capability – let alone be a portable instrument.
Reflectors
The main advantage of the Newtonian reflector design is that it is simply cheaper to manufacture quality mirrors than lenses, especially as they get large. At sizes below 4-5 in aperture, this is negligible. But when we get above 5 this cost advantage starts to become apparent. You will probably never encounter a refractor above 7 or 8 inches anywhere outside of an observatory. Still, an 8 or 10 reflector is the standard for a beginner instrument, and there are thousands of 20 and larger reflectors in the hands of amateurs worldwide.
Mirrors, as they reflect rather than refract, never split incoming light rays the way a refractor does. As a result, there is no need to worry about chromatic aberration.
Reflectors do introduce an aberration called coma (via Photography Life), especially in lower/faster focal ratio designs. Coma results in stars that are near the outer edge of the field of view becoming blurry and appearing to have a comet-like tail or cross shape.
In scopes that have a focal ratio of f/6 and higher, coma is negligible to nonexistent. Scopes between f/4.5 and f/6 have enough coma that it may be bothersome to some users, and you can buy a coma corrector to alleviate this problem. Scopes below f/4 to f/4.5 absolutely need a coma corrector to be used.
The other factor with reflectors is the need for regular collimation. The typical Newtonian reflector has a primary mirror that is mounted in such a way that the mirror can be moved to align the optics. Alignment should always be checked every time the telescope is set up, but it is a relatively easy process if it does indeed need correction.
To a smaller degree, the secondary can be put out of alignment, but because it is much smaller and lighter, it is much less subject to loss of collimation. Unless a severe jarring of the scope occurred when it was shipped, you shouldn’t need to adjust the secondary before using the telescope for the first time, and it should seldom ever need to be touched.
Collimation is a maintenance process that you will need to learn with most Newtonians over 4 in aperture. While it may seem intimidating, it is actually extremely easy and takes a few minutes at most to do – and probably isn’t necessary every single time you set up the telescope. Still, some newbies shy away from reflectors for this reason. It scared me away from buying one as my first telescope, a decision that I still regret.
Once you get past 6, the Newtonian reflector is the king of price performance as measured by cost per inch of aperture. When mounted on a Dobsonian mount, there is absolutely nothing that beats its value, ease of use, or portability.
Which Would Be Best For You?
The more aperture you get, the dimmer things you can see in the sky. More aperture lets you apply more magnification and will reveal more detail. Of course, as the aperture goes up, the cost and weight also go up, but even a 10 Newtonian is easily managed by an able-bodied adult, and a 6 can be moved even by an elderly person or child.
Refractors present many conveniences, and if you want a tripod-mounted scope that you can throw outside at a moment’s notice, carry on a plane, and/or use for terrestrial observing occasionally, they’re a great choice. However, a tabletop reflector is more portable, more capable, and will also do all of the above except terrestrial observing, so the choice is yours. A medium-sized Dobsonian is also a fabulous choice for a beginner. If you’re interested in a new scope check out this post on the best telescopes under $1000 where we go over the best telescope of every variety under $1000.
Most people end up acquiring several telescopes throughout their years in the hobby, all for different uses:
- Binoculars (technically a type of refractor)
- Grab n’ go/travel scope – typically a refractor or Newtonian between 3-6 in aperture
- Medium-sized/regular telescope – 5-6 refractor or 6-10 reflector
- Light bucket – 10 or larger reflector; some folks will have multiple œlight bucket scopes if they end up acquiring something in the 20 or larger range
Your first telescope can be any of these, and you can always swap out or obtain more equipment as time goes by and you gain more experience.
If you’re looking for an awesome group of enthusiasts to learn more about astronomy and astrophotography, then join our group on Facebook at Amateur Astronomers Worldwide. We can’t wait to have you!