You want to stargaze and set up your telescope and mount it in your backyard. But then you find that you can’t really see much. Light pollution could be the culprit!
What is light pollution?
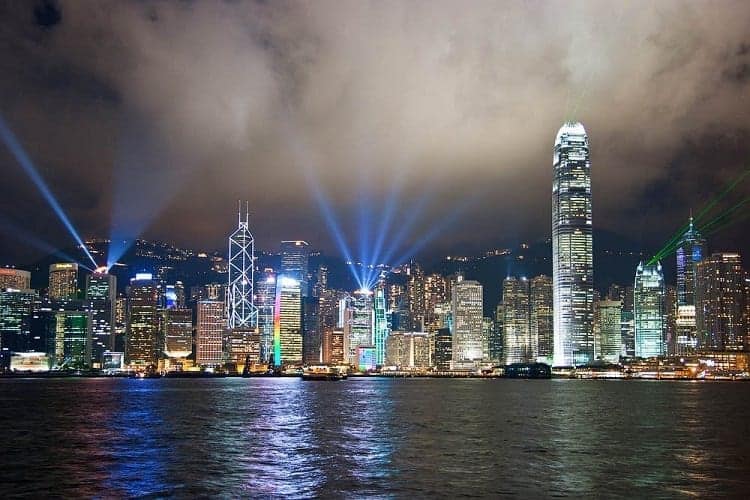
Light pollution refers to artificial lighting in your environment that can cause the sky to be brighter, and this essentially causes the planets and stars to not be as visible as they would have been if the sky were darker.
While you can’t make the sky darker, there are ways to deal with light pollution problems. Here is what you need to know so that light in your environment doesn’t interfere with your stargazing attempts.
How Does Light Pollution Affect Telescopes?
A telescope is designed with a lens or mirrors in order to be able to collect as much light as possible so that what you see in the night sky will be bright and clear.
When there is light pollution in your environment, such as in the form of your neighbor’s blinding driveway light or streetlights in your road, this causes a distorted view through your telescope because it essentially drowns out the light from stars and galaxies.
It basically competes with the way your telescope is trying to work!
How You Can Deal With Light Pollution?
To prevent light pollution from getting in the way of your astronomy or astrophotography, there are some ways in which you can ensure the clearest and most beautiful pictures of the night sky.
Leave the city
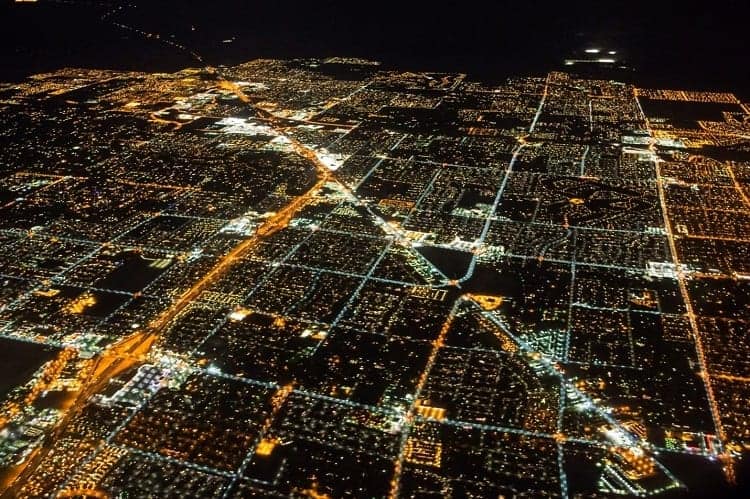
The easiest solution is to head to a remote location. Outside of the city, in remote areas, you are likely to find less light pollution as well as less hazy air because there is less air pollution.
This will result in better viewing conditions, so try to stargaze from remote locations if you can.
Choose a better telescope
While you should always try to ensure that you avoid light pollution as much as possible, it does help to have a powerful telescope in your hands.
The aperture is all about collecting light, so choose a telescope with an aperture as wide as possible.
Cut out the glare
When a beam of light shines directly into your eye, you’re dealing with glare. You want to ensure that you avoid it, even if you are trying to stargaze from your backyard in the city.
The best thing to do is try to use your telescope in a shadowy corner of the yard. You could also set up some tarp to provide shade.
Check the daytime sky
You can forecast how bright or dark your night sky will be by paying attention to how the sky looks during the day. The bluer it is, especially closer to the horizon, the darker you can expect the night to be.
If the sky is pale blue or white during the day, then this is a sign that the light is being scattered by tiny particles. These particles also scatter artificial light from light pollution sources at night, which is not conducive to being able to see celestial objects.
Save your stargazing trips for when the sky is deep blue in the afternoon – you will be able to enjoy a transparent, beautifully dark sky at night.
Consult light pollution maps
There are maps you can use that will tell you when the night is particularly susceptible to light pollution. Light Pollution Map is a website in which you can punch in your location and it will keep you informed about light pollution.
Another one worth checking out is Clear Dark Sky. It measures the night sky according to various levels of brightness so you can see how bright it is where you are. Finally, you can download an app called Dark Sky Meter to help you out.
Make use of light pollution filters
There are many light pollution filters that you can use with your telescope to eliminate unwanted light. Let’s check out some of the best ones:
Orion UltraBlock NarrowBand Filter
Orion UltraBlock NarrowBand Filter prevents both light pollution and atmospheric refraction from disrupting your images. It only lets light that is of a frequency of H-Beta and OIII to pass through it, which is a fantastic way to enhance the contrast of your images. The bonus?
There are many types of nebulae that will reveal details when captured in these wavelengths.
Orion broadband eyepiece
Orion broadband eyepiece is a 1.25-inch eyepiece as compared to the previous product, which is 2 inches. It is ideal for tackling levels of light in the city without blocking too much light from the objects you are trying to capture on camera.
It will come to the rescue when you want to take pictures of galaxies, star clusters, and nebulae, as that is what it was designed for.
ICE 1.25″ LiPo Filter for Telescope
ICE 1.25″ LiPo Filter for Telescope makes use of optical glass that cuts out sky brightness.
People who have purchased it on Amazon have stated that it made a difference to the quality of their images, such as by drawing out more details from the planets, even if they did not live in areas that were experiencing a lot of light pollution.
How To Remove Light Pollution When Editing Images
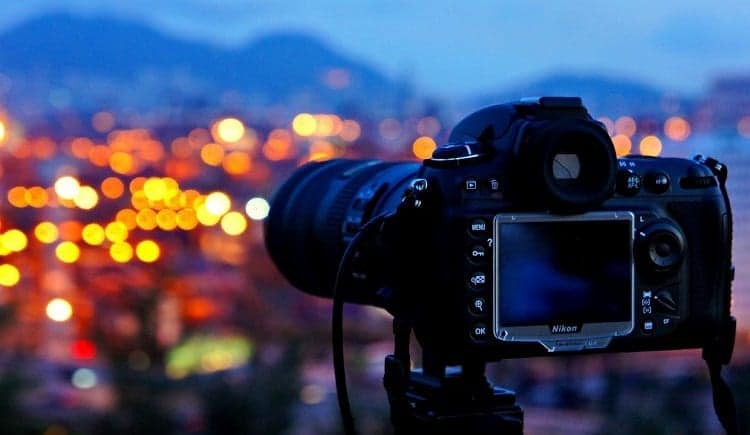
If you are interested in astrophotography, your work doesn’t stop when you’ve taken pictures of the stars, planets, and moon. In fact, it’s just beginning!
Processing your images is a valuable way to tackle lots of different problems, such as if they are not bright enough or do not have enough contrast. But you can also eliminate light pollution.
When you open the image you want to correct in your photo editing software, you will adjust the hue and saturation by choosing a color range.
If your sky low looks a bit yellow because of too much artificial light in your environment, then you will choose yellow colors. Take your time to play around with the light and saturation sliders.
You will see how this can instantly adjust the light pollution in the images, but sometimes this can cause color that was found in the stars or planets that you took photos of to vanish, too. That problem can be avoided, though.
This tutorial (via Sky At Night) provides you with steps to follow.
- Go to the Layers palette. Make a copy of your background layer and use a new layer that is in front of the original.
- Blur the new layer a lot. You want to use the Gaussian Blue feature.
- Then, a floating palette will show on the screen. Choose a 50-pixel radius so that a smoother version of your picture will appear. It will be the same color of the light pollution that you want to eliminate.
- Now, you have to blend the layers of the image with the ‘subtract blend’ mode.
- You will see that by blurring the top layer, the background of the image will darken but the stars that you have photographed will keep their colors! The black background will also provide nice contrast.
- When you are done and you feel satisfied with the image, go to the Layers’ menu, flatten the layers, and then save it as a new file.
Some useful software to help you remove light pollution from your images include Photoshop and GIMP.
A bit of editing is always useful for your astrophotography images. If you simply can”t eliminate all the light pollution in the photos you take, you should not feel disheartened. Just put them through processing software and see the planets and stars come alive in your images!
Related Questions
How far can light pollution have an effect?
Light pollution produced by urban areas can reach up to 100 miles, as AccuWeather reports.
This causes bright stars, the moon, and the planets to appear washed out.
How do filters work to reduce light pollution?
Filters subtract light so that everything becomes darker. This has the effect of making the background sky and stars you’re not targeting become darker than the object you’re looking at, which improves the contrast, Astronomy explains.
This allows you to find celestial objects more easily.
Conclusion
This kind of pollution can really make your amazing pictures of the night sky look average.
It”s frustrating to have to deal with, especially if you can’t always head out to a remote location that doesn’t have light pollution in order to ensure you can see the dark sky clearly.
That doesn’t mean you can’t find ways around light pollution. In this article, we’ve featured some of the best tips to help you tackle and eliminate light pollution, such as when it comes to choosing filters for your telescope.