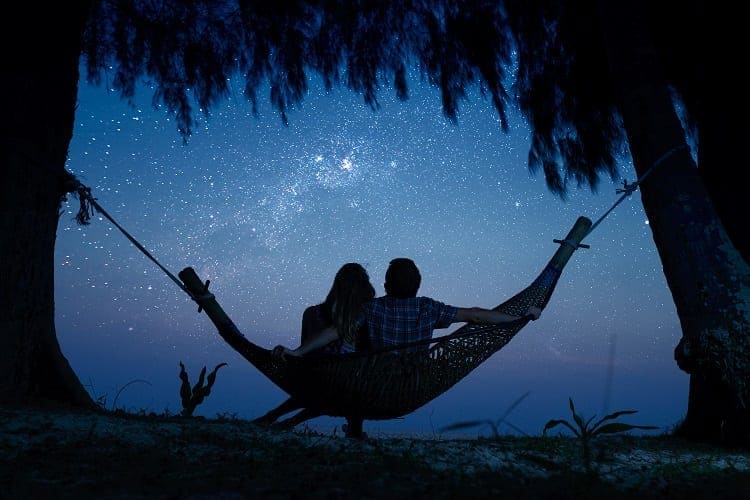
You’re all set to go stargazing.
You have your backpack filled with your telescope, smartphone adapter, and other items. But wait – is it the right night for you to be able to see celestial objects properly?
What, exactly, is the right night for stargazing? There are some conditions you can control (equipment, location, etc.) and some you can’t (weather, darkness levels, etc.). We teach you how to find the best conditions for stargazing to ensure an amazing experience.
In order to prevent you from being disappointed, make sure the night you choose to view the stars is clear and cloudless – but there are other factors to bear in mind.
Let’s look at everything you need to ensure before you jump into your car and head out to your favorite stargazing location. We’ll start with how to read the weather.
Forget Public Weather Reports

“Clear with a chance of cloud cover” isn’t going to cut it. If you’re getting your weather information from a website that is for the public, you’re missing out on crucial, detailed information you need.
Choose to get your weather reports from Clear Outside, as this source has more accurate information for your area when it comes to wind speed, wind pressure, cloud forecast, and temperature.
You’ll also need to make use of barometric pressure charts that will help you see how clear the sky is scheduled to be. If the pressure is high, this will ensure that you have clearer conditions that will enable you to see the planets. Barometer Plus is an iPhone app you can use.
Check The Transparency
In astronomy, transparency refers to how clear the atmosphere is. You want there to be no dust or moisture in the sky, as that will lead to optimal transparency. If the air is hazy, this will make your astronomy views and pictures lack detail as well as color.
Transparency tends to be better in the winter because the cold air from the Arctic sends cleaner air toward the south. In the summer, it’s worse as a result of inversion layers. These are a boost in air temperature with altitude (via Sky At Night).
Always make sure you check the views outside your window and reschedule your stargazing trip if there’s haziness in the air.
Finding The Elusive “Good Seeing”
Another interesting term astronomers know all about, seeing refers to how stable the atmosphere currently is.
So, if the stars look like they’re wobbling around, then visibility and seeing are poor. If you try to view the planets and stars when seeing is poor, then they will lack detail.
Here’s a tip (via Sky at Night): seeing always tends to be better later and night but it’s worse in the early evening. Therefore, try to schedule your stargazing activities for later in the night.
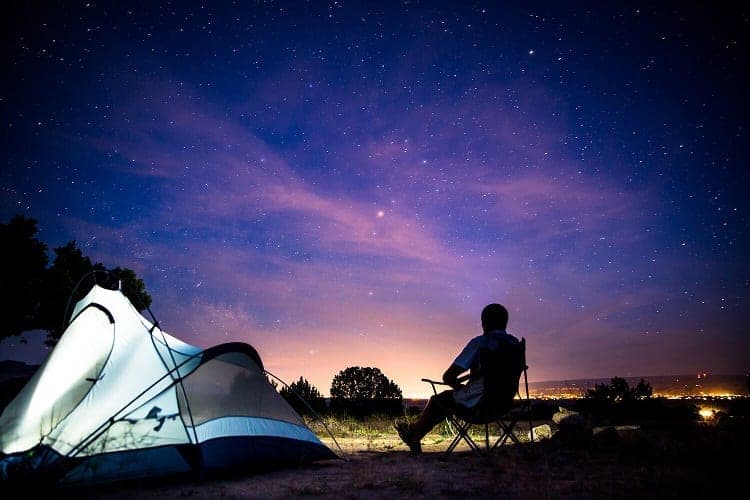
Try To Find A Higher Spot
The best stargazing spot is one that is high above the city – this could be a mountain or building – as it will open up your field of view and enable you to get as far away as possible from those annoying streetlights that create glare.
Light pollution is an astronomer’s worst nightmare!
Pay Attention To The Moon
You might love the sight of the moon in the sky, but did you ever think it could be hampering your stargazing experience?
If the moon is too bright, it will cause everything else in the sky that you’re trying to see to get washed out in its light.
Ideally, you should try to stargaze when the moon is in a gibbous or crescent phase. This can be beneficial to you even if you want to take pictures of the moon – sometimes a full moon is overrated, anyway!
How To Prepare For A Night Of Observation By Creating the Best Conditions for Stargazing
Once you’ve checked the weather to be sure it’s a cloudless, moonless night, there are other important things you need to do to ensure you plan for your night of stargazing properly. Here’s a rundown of them.
Dress appropriately for the weather
You don’t want to be shivering while trying to spot Venus or Sirius – that will just ruin your entire stargazing experience.
Pack some extra clothes, such as a warm jacket, gloves, and a hat.
Prepare for dark adaptation
This is a term used by astronomers for how you will feel like you can’t see anything in the night sky for the first half an hour of being outside.
When your eyes relax and have increased their pupils’ size to take in the lower levels of light, you’ll be able to see a lot more in the sky.
During the time it takes for your eyes to adjust, make sure you avoid looking at your smartphone’s screen as the white screen will make it harder for you to see.
Pack a red torch
A red torchlight is a must to own if you want to go stargazing. It prevents that horrible white, blinding light when you want to see what’s in your backpack and it’s gentler on your eyes.
It’s also a good idea to activate the red screen on your iPhone so that if you want to check an astronomy app in the darkness, you won’t hurt your eyes.
Bring a beach towel
No, not because you’ll lie on your back to view the stars (although, why not?), but because spreading a beach towel underneath your tripod is a smart way to ensure that if you drop something on the ground, like an eyepiece, you’ll be able to see it immediately.
Hey, those things are expensive!
Lens cleaner
It’s frustrating to have packed all your gear only to find that the windy, dusty night is causing your optics to become dirty.
Make sure your camel’s hair brush has been packed so you can quickly remove any dust from eyepieces and lenses, and bring your Lens Pen along with you in case you need to clean away any marks on your optics.
Power tanks
You don’t want to run out of power for your electronic gadgets, especially if you’re in a remote location.
Bring a power tank (or two!) and an extra pack of batteries.
Bug spray
If it’s summer, you don’t want mosquitos to irritate you when you’re trying to locate the planets. Enough said.
Where Should You Stargaze? Learn The Ideal Conditions To See Stars
If you’re serious about stargazing, you’ll want to ensure you’re in the best place to see the stars and planets.
For this, you’ll need to make use of a site like EarthSky. It provides a map of the entire world with information about where you should go to see the most views in the night sky.
Simply click on a star close to your location, and you’ll be provided with information about a place where you’ll be able to see the stars, such as from a national park or campus. This will ensure that you can always be in the best place possible to see celestial objects.
Finding the objects themselves can sometimes prove difficult if you don’t know what you’re looking at. We recommend using an app or star chart to help you navigate the stars above. Check out this post on how to accurately read a star chart to help you navigate the stars above!
Should You Bring Your Telescope?
If you’re completely new to stargazing, it’s a good idea to start small. Step outside into your garden or backyard and observe the sky with your eyes. Try to point out anything you can see.
The use of an app, such as SkySafari, can help you. Open the app on your phone, then point the phone to the sky and it will show you a map of what’s there, even if your eyes can’t see it.
This will help you to make sense of the stars and learn more about where to point binoculars or a telescope.
Then, take the time to learn and become familiar with your equipment. You don’t want to take all your gear to a remote stargazing location only to find that you’re fumbling with your equipment or it’s not working for you.
When you’ve got a telescope that you feel comfortable using, and you’re sorted with your gear, such as eyepieces that will zoom into what you see in the night sky, you’ll be able to prepare for gazing at the stars and make the most of it.
This is especially important if you’re heading out to see a celestial event that you don’t want to miss.
Related Questions to Best Conditions for Stargazing
Do you need a telescope with a finder?
When you’re ready to purchase a telescope, it’s a good idea to choose one with a finder (it sits on top of the telescope) as it will help you to locate objects in the sky much easier.
Is stargazing in winter really better?
You’ll definitely see more in the sky because it’s clearer and there’s less humidity. This results in a clearer, sharper view.
Conclusion
Stargazing is a fun and exciting hobby, but it can lead to disappointment if you don’t consider some important tips, such as where the best places are to catch sight of the beautiful sky’s treasures and what the weather’s like.
In this article, we’ve provided you with information about how to ensure the best stargazing conditions before you pack your backpack and head out into a remote location. Happy star hunting!