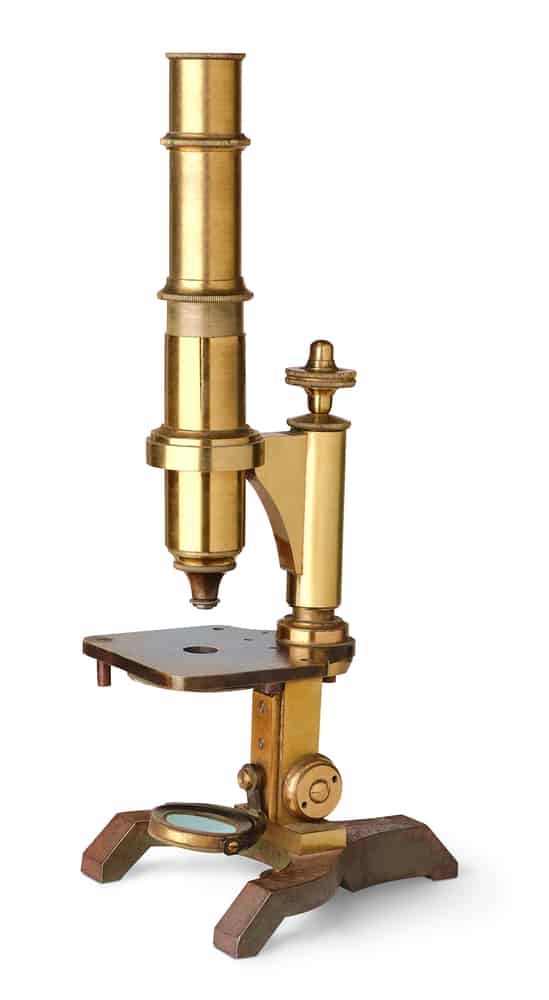
What Is a Basic Working Simple Microscope?
A basic working simple microscope is an optical instrument that you can use to observe specimens and small objects. Created in the 17th century, simple microscopes were under mass production by the 18th century.
As the name suggests, the simple microscope features one convex lens which manipulates how light enters the eye, making objects appear magnified. Convex simply means that the edges of the lens are curved outwards. Light bounces off the small object being viewed and passes back through the lens.
A basic working simple microscope should incorporate an eyepiece, a specimen stage, and an objective lens. It has a base, body, nosepiece, and light and typically features a short focal length. The name microscope is derived from the Greek root word “micron,” which means small.
How Does a Basic Working Simple Microscope Work?
To understand how microscopes work is to comprehend the primary principles: magnification, resolution/focus, contrast, and illumination. Microscopes are sophisticated optical tools that take a little studying to gain the best grasp and understanding of their functioning and capabilities. Each working principle is essential to a microscope’s correct use and successful operation. The following paragraphs will provide a helpful overview of high-level outline terminology and the concept behind them.
Magnification and resolution are key concepts to understanding the fundamentals of microscopy. Put very simply, the definition of magnification is to enlarge the appearance of an object under the microscope. The lens on a basic working simple microscope dramatically reduces the field of vision, magnifying the observed surface area. The degree of magnification can start at 5x the object’s size – and more sophisticated models have higher magnification and can scale up to 1000x.
When learning about the fundamentals of magnification, understanding resolution is imperative. First, the resolution is the ability to distinguish specific details within a specimen sample. Resolution is often described as the shortest distance between two separate entities where the viewer can still identify them individually.
When working with different samples and specimens, you must use the correct illumination to examine the material. There are two main types of illumination: transmitted and incident. Transmitted illumination is where the back of the specimen is illuminated, which is best for biological applications such as cell and tissue. Incident illumination is the opposite of transmitted illumination, and the illumination is focused upon the sample, which is more appropriate for larger and 3D samples.
Uses of a Basic Working Simple Microscope
Most laboratories in schools, colleges, and further education facilities are fortunate enough to have ample basic working simple microscopes for their students to learn to use. Mastering the primary principles takes just a little time and practice, and students can analyze an array of items easily. As confidence grows using scientific tools, the scientists of tomorrow can gain confidence and excitement in their biology classes. There is a wealth of online knowledge regarding integrating lesson plans that involve microscopy for schools that are just investing and for home educators purchasing their first optical tool.

Within the research and development field, the basic working simple microscope is a valuable tool for many industries. The simple working microscope can magnify a subject up to 300 times; it is perfect for reviewing things closely, such as biological specimens like blood, urine, saliva, and nails. Soil and skin samples are also often analyzed with the help of a basic simple working microscope.
A basic working simple microscope is an excellent tool in a toolbox for quality assurance and inspection. Jewelers often rely on this method of obtaining a magnified image to assist them with reviewing dainty clasps and jewelry fixings.
How to Use a Basic Working Simple Microscope
Sample preparation for a basic working simple microscope is somewhat similar to other microscopes. Before adding any substance to the slide, it is always advisable to wear gloves and avoid touching the central area of the slide. This will keep the slide from becoming covered in fingerprints, preventing a clear view of the specimen.
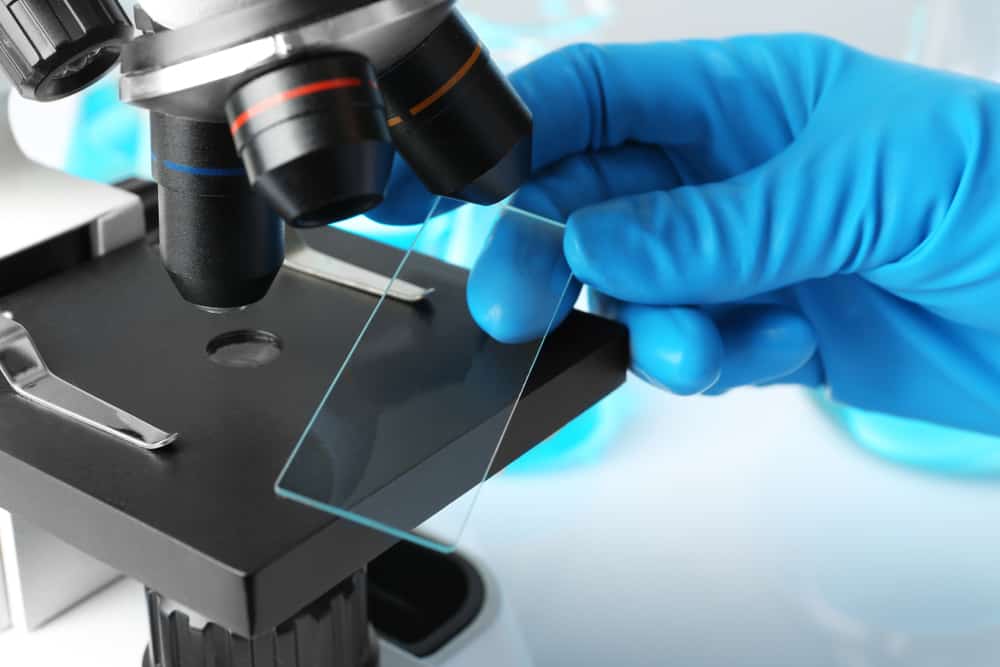
To dry mount a specimen, simply apply a small piece to the slide and place it onto the microscope stage. Position the coverslip on top (or put another slide on top to hold the material in place). For a wet mount, place the material onto a slide. Then, using a water dropper, add one drop of water to the slide and the coverslip at a 45-degree angle before releasing onto the slide (don’t worry – the water will stay in place).
Once your sample slide is ready to view, you must focus and adjust your eyepiece to ensure a good view for analysis. This process takes a few moments to set up, ensuring you can see the specimen properly.
Once the slide is in place, turn on the light source on the microscope and ensure that it is set on the lowest possible magnification configuration on the nosepiece. Adjust the stage where the slide is situated to move it further or closer. Finally, once you have the slide where you want it, tune the focus knob of the microscope to adjust the coarse and fine focus. If you wish to alter the magnification again, you’ll likely have to review the stage position and adjust the focus knob to gain the best possible view.
Like any scientific tool, you must keep even a basic microscope in good working order to function well. It is always advisable to keep your microscope covered with a protective casing and stow it somewhere cool and dry. Similarly, slides should be properly stowed to avoid damage inhibiting a clear view. The convex lens should be cleaned off with a soft lens cloth. Be cautious about using any other material that might compromise the lens’s integrity. Keep the stage free of sample dirt and debris. You can clean this area with some alcohol to ensure it is sanitized.
FAQs
What is the difference between a simple microscope and a compound microscope?
The simple microscope only has a single lens, whereas a compound microscope can have many. The basic working simple microscope is excellent for learning about the basics of microscopy and for biological experiments for students. A simple microscope may be a good fit for someone who works in a very intricate environment, such as a jeweler or watchmaker.
How do you calculate the magnification of a simple microscope?
Typically, your microscope will have the magnification capabilities printed on the side of the tool. Basic working simple microscopes usually start at the 10x range, which means specimens will appear ten times larger than they actually are.
Can a simple microscope be used to view living specimens?
Using the wet mount method outlined above is advisable to study live cells. This ensures that the sample does not dry out too quickly.
What are some common issues with simple microscopes, and how do you troubleshoot them?
As discussed earlier, it is essential to stow, care for, and provide general maintenance for your microscope correctly to ensure optimal operability. Generally, the cleanliness of both the lens and the stage is necessary to review specimens in a sterile environment that is not hampered by dust or fingerprints.
For more complex issues, most manufacturers have an online chat function where an expert can walk you through an array of recommended steps to remedy and troubleshoot issues rather than following advice not geared toward your exact brand and model.

