Table of Contents
- Introduction
- Equatorial Mount Fundamentals
- Types of Equatorial Mounts
- Mechanical Design, Capacity, and Balance
- Polar Alignment Methods
- Tracking, Periodic Error, and Guiding
- Setup, Balancing, and Best Practices
- Visual vs Astrophotography Use
- Buying Guide: Features That Matter
- Maintenance and Troubleshooting
- Advanced Techniques: Modeling and Encoders
- FAQs for Visual Observers
- FAQs for Astrophotographers
- Conclusion
Introduction
For many observers and imagers, the telescope mount is the most important part of the setup. Optics matter, but it is the mount that points the instrument, carries the payload, follows the sky, and keeps stars tight and round during long exposures. This comprehensive guide explains equatorial mounts—how they work, how to polar align them, how to manage tracking and periodic error, and how to choose, set up, and maintain the right mount for your observing or astrophotography goals.
Equatorial mounts align one axis—the right ascension (RA) axis—parallel to Earth’s spin axis. Once polar aligned, tracking celestial objects becomes a matter of turning that single axis at the sidereal rate. This design neatly cancels field rotation, making equatorial mounts the go-to choice for long-exposure deep-sky imaging. In visual observing, equatorials offer convenient single-axis tracking and fine motion control. Throughout this guide, we refer to key topics like polar alignment methods, tracking and guiding, and buying considerations so you can jump to the parts you need most.
Equatorial Mount Fundamentals
An equatorial mount is defined by its two perpendicular axes: right ascension (RA) and declination (Dec). The RA axis is tilted to match the observer’s latitude and points toward the celestial pole. When the RA axis rotates at the sidereal rate—approximately 15 arcseconds per second—it compensates for Earth’s rotation and keeps targets centered.
RA/Dec vs Alt-Az
Compared to an alt-azimuth (alt-az) mount that moves in altitude and azimuth, an equatorial mount’s coordinate system matches the celestial sphere: north–south (declination) and east–west (right ascension). This is advantageous for astrophotography because it eliminates field rotation when properly polar aligned. Alt-az mounts can track with GoTo motors, but without a wedge or de-rotator they will rotate the field during long exposures.
Sidereal, Solar, and Lunar Rates
Most equatorial mounts can run at multiple tracking rates:
- Sidereal: Matches the apparent motion of the stars (23h 56m 4s per rotation).
- Solar: Slightly slower to account for Earth’s orbit around the Sun.
- Lunar: Tracks the Moon’s eastward motion against the stars.
For deep-sky imaging, sidereal is standard. Planetary imagers may sometimes use solar or lunar rates when centering and focusing, but modern workflows typically rely on autoguiding to fine-tune tracking (see Tracking, Periodic Error, and Guiding).
Tip: After a careful polar alignment, even modest equatorial mounts can deliver surprisingly long unguided exposures at short focal lengths. Guiding extends that performance across a wider range of payloads and focal lengths.
Types of Equatorial Mounts
While all equatorials share the same RA/Dec geometry, their mechanical layouts vary. Each type offers trade-offs in balance, portability, capacity, and imaging performance.
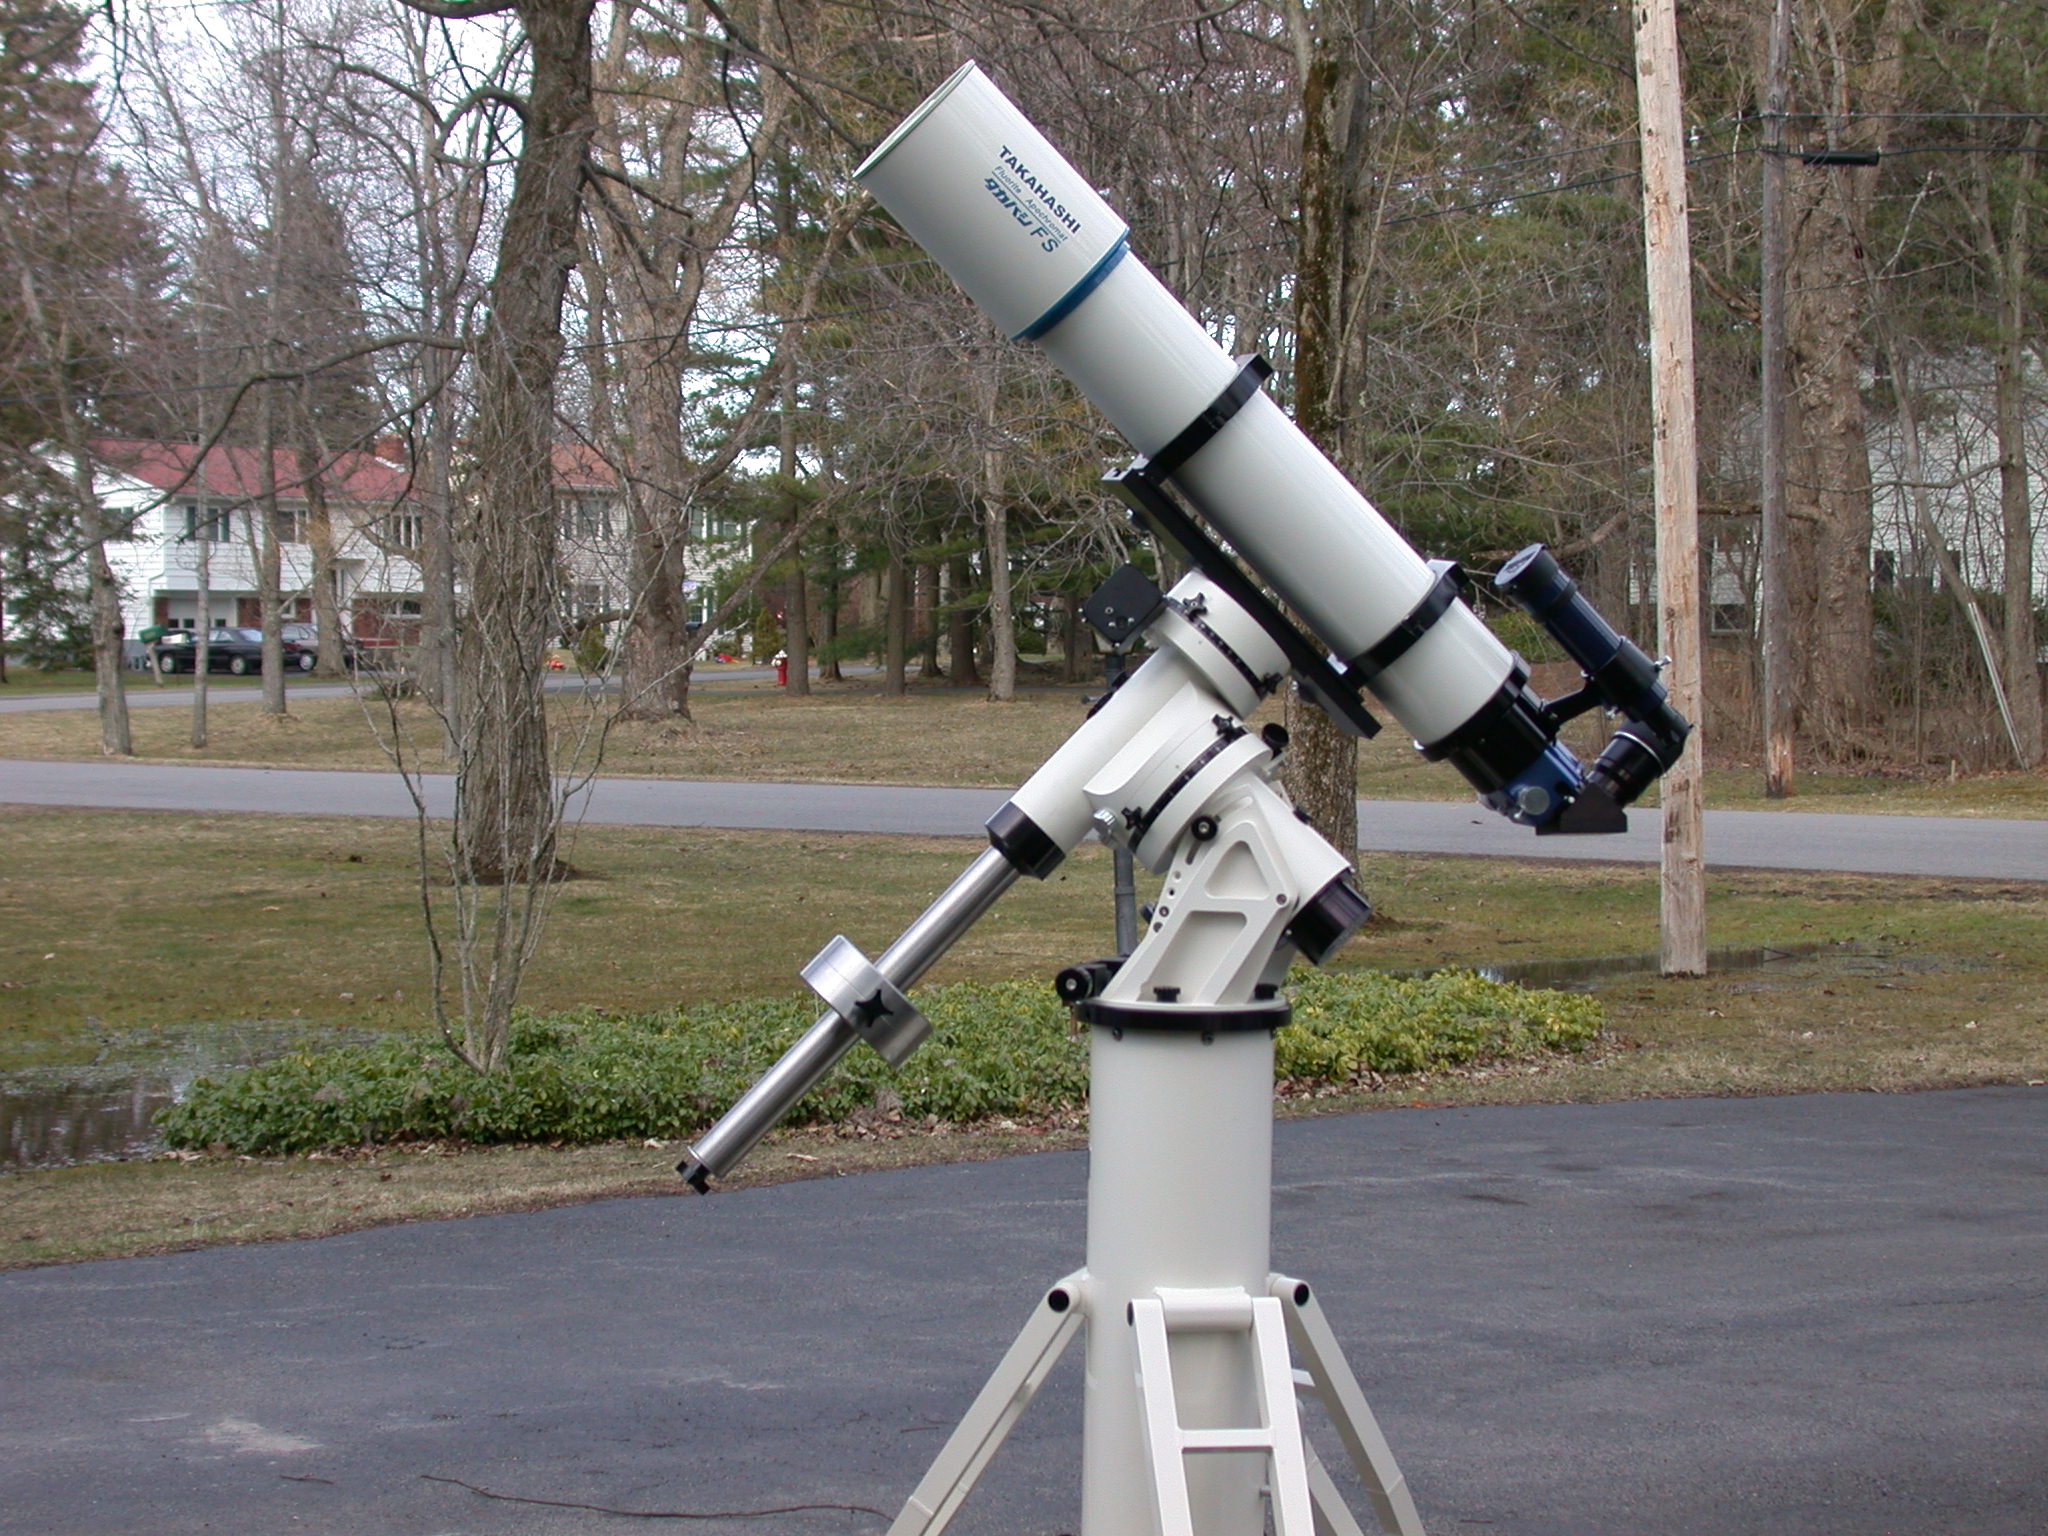
German Equatorial Mount (GEM)
The GEM is the most common design among amateurs. It places the telescope on one side of the RA axis and counterweights on the other. Advantages include compactness, modularity (interchangeable tripods/pier), and broad availability from entry-level to premium. Drawbacks include the meridian flip—when tracking across the local meridian, the mount must reverse orientation to avoid collision and maintain balance.
- Pros: Versatile, wide capacity range, good for multiple optical tubes, easy to transport.
- Cons: Requires meridian flips; longer moment arms can challenge stability if payloads are front-heavy.

Fork Equatorial (Fork on Wedge)
A fork mount on an equatorial wedge tilts an originally alt-az fork so that its primary axis aligns with the celestial pole. This design is common for Schmidt-Cassegrain Telescopes (SCTs). A major benefit is that it avoids meridian flips for many targets, simplifying long sequences. However, fork mounts can be bulky and may have reduced clearance near the base, especially for large accessories.
- Pros: No meridian flips in many parts of the sky, rigid connection for matched OTA, compact optical path.
- Cons: Less modular; heavy for large apertures; wedges require careful setup and can introduce flexure if undersized.
Center-Balanced Equatorial Mount (CEM)
The CEM relocates the mass more centrally over the tripod, aiming for better weight-to-capacity efficiency. By centering the RA axis and payload over the support, these mounts can achieve higher capacity for a given head weight. They retain the core GEM behavior, including meridian flips.
- Pros: Efficient capacity-to-weight ratio; portable for the payload they carry.
- Cons: Some models have unique balancing procedures and cable routing considerations.
Harmonic Drive (Strain-Wave) Equatorial
Harmonic drive mounts use strain-wave gearboxes with high reduction ratios, allowing compact, lightweight heads to carry surprisingly heavy payloads. They often operate without counterweights when the payload is kept short and well-centered. Many are configured as equatorials or can switch between alt-az and EQ modes.
- Pros: Very portable; high torque density; minimal backlash; excellent for travel rigs.
- Cons: Some exhibit periodic error patterns at specific frequencies; balancing still matters for optimal guiding; price-per-capacity can be higher.
Hybrid Alt-Az with Wedge
Some GoTo alt-az mounts can be placed on an adjustable wedge to emulate equatorial behavior. This is common for fork-mounted SCTs and some compact travel mounts. While convenient, performance depends heavily on wedge rigidity and the mount’s tracking precision in equatorial mode.
Not sure which design fits your use? Jump to the Buying Guide after you understand mechanical capacity and balance.
Mechanical Design, Capacity, and Balance
A mount’s real-world performance is governed by stiffness, smoothness, and how the payload is carried. The headline capacity number is only part of the story.
Capacity: Visual vs Imaging
Manufacturers often list a maximum payload. For visual use, mounts can typically handle a higher fraction of that number because momentary vibrations are tolerable. For astrophotography, conservative rules of thumb apply:
- Imaging payload: Often 50–70% of the stated visual capacity, depending on focal length and leverage.
- Short focal length rigs: Can push closer to the upper range; long focal length SCTs or RCs should be kept lighter due to magnification of errors.
Remember that payload includes the entire train: telescope, guide scope or OAG, cameras, filter wheels, focusers, dew heaters, and dovetails/plates.
Moment Arm and Inertia
Two setups of equal weight can behave very differently if one is physically longer. A short, compact refractor is easier to control than a long Newtonian or SCT with a lot of back focus hardware. Longer moment arms increase torque on the axes and excite vibrations.
Stiffness, Bearings, and Worm Mesh
High-quality bearings, tight tolerances, and properly adjusted worm/worm wheel meshes reduce play and improve tracking. Excessive preload can cause binding; too little yields backlash. Temperature changes can shift clearances, so some mounts include spring-loaded worms or adjustable mesh to maintain consistent contact.
Counterweights and Balance
Proper balance minimizes motor effort, reducing current draw, noise, and wear. In RA, adjust the counterweight along the shaft to match the telescope side. In Dec, slide the telescope in its saddle to find neutral balance. Many imagers bias RA slightly “east-heavy” to keep gear faces loaded in one direction and reduce backlash. We’ll cover the process in Setup, Balancing, and Best Practices.
Tripods, Piers, and Damping
A stiff tripod or pier is essential. Steel or carbon legs, wide stances, and vibration suppression pads help minimize settling times. Permanent piers reduce flexure and make recurring setup faster, especially when combined with a fixed wedge angle and indexed azimuth adjustments.
Polar Alignment Methods
Polar alignment ensures the RA axis is parallel to Earth’s axis, aiming the pole in azimuth and altitude. The closer you get, the less guiding has to work and the less field rotation you’ll see in long exposures. There are several reliable methods, from classic to modern.
Polar Scope Alignment
Many mounts include a polar scope with an etched reticle. Procedures vary, but generally you:
- Roughly level the tripod and point the RA axis north (south in the southern hemisphere).
- Rotate RA to orient the reticle using a reference (e.g., a clock-face alignment).
- Use an app or handset to place Polaris (or the Octans asterism in the south) at the correct position on the reticle.
- Adjust mount azimuth and altitude bolts until the star(s) sit at the indicated location.
Good polar scopes can achieve a few arcminutes of alignment error, adequate for modest focal lengths or short exposures. For precision imaging, refine with drift alignment or plate solving.
Drift Alignment (Classic)
Drift alignment uses the apparent drift of a star to quantify misalignment. With a reticle eyepiece or camera, you observe drift over time and adjust the mount:
- Azimuth error: Center a star near the celestial equator and near the meridian. If it drifts north/south, adjust the mount’s azimuth until drift stops.
- Altitude error: Center a star near the celestial equator and low in the east or west. Adjust altitude until drift stops.
It’s methodical and precise but can be time-consuming. Still, it is a failsafe when you can’t see the pole or lack a polar scope.
Plate-Solve Assisted Polar Alignment
Modern software can solve sky images to measure where the mount is pointing and guide you through adjustments. Typical workflows take images at different RA angles, solve them, and calculate the polar offset vector. The software then provides on-screen arrows showing which way and how far to turn the mount’s adjustment knobs.
This approach is fast and accurate—often to within a few arcminutes or better. It is particularly helpful when Polaris or Sigma Octantis are obstructed by trees or buildings.
All-Star and Multi-Star Polar Alignment Routines
Many GoTo mounts include a routine that uses bright stars away from the pole. After a two- or three-star alignment, the handset slews to a calibration star; you then mechanically adjust the mount to center it. This refines polar alignment even if the pole is not visible. While brand names differ, the concept is similar: use the star model to back out the mount’s polar error and correct it.
How Accurate Is “Accurate Enough”?
Required precision depends on your goals:
- Visual observing: Within a degree is fine; GoTo and tracking will work well enough.
- Short-exposure imaging: A few arcminutes is typically sufficient at short focal lengths.
- Long-exposure, long focal length: Aim for sub-arcminute alignment and consider guiding plus periodic error correction.
Even with excellent polar alignment, guiding is still recommended to handle mechanical errors and atmospheric effects.
Tracking, Periodic Error, and Guiding
The RA axis tracks at a constant rate, but mechanical imperfections—chiefly in the worm and worm wheel—introduce a repeatable tracking error called periodic error (PE). Backlash, flexure, and wind add non-periodic disturbances. Understanding these effects helps you decide when to guide and how to tune performance.
Periodic Error (PE)
PE arises from small variations in the worm gear’s effective radius and imperfections in the worm/wheel mesh. Over one worm cycle, the mount will speed up and slow down, producing a sinusoidal-like tracking error. Typical midrange mounts might have 10–40 arcseconds peak-to-peak PE unguided; premium mounts and those with high-precision gears (or encoders) can be much lower.
Periodic Error Correction (PEC)
Many mounts support PEC, which records the error over one or more worm periods and applies a corrective drive signal when tracking. PEC can substantially reduce PE, improving unguided performance and easing the burden on guiding. Best practice is to train PEC after the mount is well-balanced and the polar alignment is dialed in.
Backlash and Stiction
Backlash in gears appears as a delay when reversing direction. RA guiding typically favors one direction (east-heavy) to keep gears loaded. In Dec, guiding pulses may alternate as drift is corrected, making backlash more visible. Minimizing mechanical play and using guiding settings that avoid rapid reversals help reduce its impact.
Autoguiding Basics
Autoguiding monitors a guide star and sends corrections to the mount to keep the main imaging field steady. There are two common configurations:
- Guide scope: A small, separate refractor and guide camera. Simple and flexible, but can suffer from differential flexure between the main scope and guide scope at longer focal lengths.
- Off-Axis Guider (OAG): Picks off light from the main optical path with a small prism. Eliminates differential flexure but can be more sensitive to back focus and requires finding suitable guide stars in a narrower field.
Guiding software analyzes star position drift and applies RA and Dec corrections. Tuning aggressiveness, exposure time, and dithering cadence helps manage seeing and mount behavior.
Guiding Metrics and Expectations
RMS guiding error is often reported in arcseconds. To keep stars round, the total error should be comfortably below your imaging scale (arcseconds/pixel). For example, if you image at 2.0″/px, keeping total RMS near or below ~1.0″ will usually produce round stars. Mount quality, seeing, wind, and payload balance all contribute.
Field Rotation and Why Equatorial Mounts Win
In alt-az tracking, the field rotates around the pointing direction, smearing long exposures unless a field de-rotator is used. Equatorial mounts remove this rotation at the source by aligning RA with Earth’s axis. That’s why precision polar alignment is so valuable for imaging.
Setup, Balancing, and Best Practices
Getting the most from an equatorial mount is about repeatable, careful setup. Even modest mounts can punch above their weight with consistent workflow.
Site Preparation and Leveling
- Level the tripod: While a mount can track when unlevel, starting level keeps azimuth/altitude adjustments orthogonal and makes repeatable alignment easier.
- Firm ground: Avoid soft soil; consider pads or a pier for stability.
Rough Polar Aim
Use a compass (corrected for local declination) and inclinometer or the mount’s altitude scale to roughly aim at the pole before fine alignment. This saves time in polar scope, drift, or plate-solve assisted steps.
Balancing RA and Dec
- RA balance: Unlock RA, place the counterweight bar horizontal, and slide counterweights until the axis stays put. Bias slightly east-heavy for guiding.
- Dec balance: Unlock Dec and slide the OTA in its saddle until it stays put. Check balance with the camera and accessories installed.
Re-check after changing eyepieces, cameras, or adding dew shields, as these shift the center of gravity.
Cable Management
Dangling cables tug on axes and degrade guiding. Bundle cables into a single, flexible loom. Provide enough slack for a meridian flip on GEMs and CEMs. Route away from clutches and moving parts.
Power and Environment
- Stable power: Use regulated supplies or high-quality battery packs. Voltage drops cause erratic behavior.
- Wind management: Shields or wind breaks help. A longer OTA amplifies gusts.
- Thermal equilibrium: Allow optics and mount to stabilize; temperature gradients can affect tracking and focus.
GoTo Alignment and Sync
After polar alignment, perform a multi-star GoTo alignment if your mount requires it. Sync on a known star near your target field for precise pointing, or use plate solving to center targets and build a pointing model on the fly.
Visual vs Astrophotography Use
The same mount can serve very different roles depending on whether you observe visually or take images. Choosing the right workflow maximizes results.
Visual Observing
- Convenience: Single-axis tracking keeps objects centered at high power. Slow-motion controls are intuitive.
- Setup speed: Polar alignment can be approximate—just good enough to keep objects in view.
- Payload flexibility: Swapping eyepieces and accessories is easy; otherwise, keep balance in mind.
Astrophotography
- Polar precision: Use plate-solve alignment or drift for accuracy.
- Guiding: Essential for most setups beyond short, wide-field rigs. Dial in exposure and aggressiveness for your seeing conditions.
- Target framing: Plate solving and automated centering save time and improve repeatability across sessions.
If you’re starting out in imaging, see the Buying Guide for guidance on matching focal length to mount capability.
Buying Guide: Features That Matter
Choosing an equatorial mount is about matching capacity, precision, and ergonomics to your goals and observing site.
Capacity and Head Weight
Consider not only the payload you have now but also the optical tube you might want next. If imaging is a priority, aim for a mount that carries your planned rig at roughly half to two-thirds of its rated capacity for reliable performance.
Drive System and Gearing
- Worm and wheel: Common, proven, with PEC improvements available.
- Belt-driven worms: Quieter and smoother backlash characteristics than direct spur gears.
- Harmonic drives: Compact and capable; evaluate guiding statistics and periodic behavior reports for your targets and focal length.
Encoders and Zero-backlash Options
High-resolution absolute encoders can dramatically reduce or eliminate periodic error and improve pointing, especially on premium mounts. They add cost but may reduce reliance on guiding for certain imaging regimes.
Tripod, Pier, and Wedge Quality
Don’t neglect the foundation. A rigid tripod or pier is as important as the head. If using a wedge (fork or alt-az-to-EQ conversion), ensure it is robust and easy to adjust under load.
Software Ecosystem
- ASCOM/INDI compatibility for control from desktop or mobile.
- Plate-solve integration for centering and polar alignment assistance.
- PEC training tools and guiding profiles available for your mount family.
Ergonomics and Field Use
- Altitude/azimuth adjusters that are smooth under load.
- Clutches that engage predictably and don’t shift balance unexpectedly.
- Built-in handles and manageable head sections for transport.
Real-world Reports
Beyond specs, look for user guiding logs, periodic error measurements, and long-term reliability stories. These reveal much more than a brochure can about how a mount behaves night after night.
Maintenance and Troubleshooting
Equatorial mounts are precision machines. Regular care keeps them performing at their best.
Routine Care
- Keep it clean: Dust and grit in the saddle, dovetails, and gears cause wear and stick-slip behavior.
- Check fasteners: Periodically verify that tripod bolts, saddle clamps, and dovetail screws are snug.
- Cables and strain relief: Prevent tugging on ports and motors.
Lubrication and Mesh
Some mounts benefit from periodic relubrication and worm mesh adjustments, particularly after years of use or in extreme temperatures. Follow manufacturer guidance; over-tightening meshes can worsen tracking.
Diagnosing Problems
- Sudden Dec excursions: Check for cable snags and balance shifts.
- Regular RA oscillations: Likely periodic error—train PEC and guide.
- Backlash spikes: Adjust gear mesh or guiding to avoid rapid reversals; bias RA east-heavy.
- Wind-driven elongation: Shorten exposure times, add shielding, or lower the sail area of the rig.
Storage
Store in a dry environment to prevent corrosion. If transporting frequently, use padded cases and protect dovetail/saddle interfaces from nicks, which can compromise rigidity.
Advanced Techniques: Modeling and Encoders
Beyond basic alignment and guiding, advanced tools can refine pointing and tracking to a professional sheen.
Pointing Models
Software can map mechanical imperfections—like cone error, non-orthogonality, and flexure—by sampling stars across the sky. A dense pointing model allows the mount to predict and correct pointing offsets, improving GoTo accuracy. This is especially valuable for remote or robotic setups.
Multi-star Alignment vs Polar Alignment
A multi-star pointing model does not replace polar alignment; it improves pointing accuracy, not the orientation of the RA axis. Field rotation from polar error will still accumulate in long exposures. Use models to center targets and polar alignment to eliminate rotation.
Absolute Encoders
High-resolution encoders on the RA (and sometimes Dec) axis provide direct position feedback, dramatically reducing periodic error and allowing near-unguided performance at moderate focal lengths. They also preserve position after power cycles. Even with encoders, precision polar alignment remains crucial for long exposures.
Meridian Flip Automation
For GEM/CEM designs, automation software can plan, execute, and re-center after meridian flips. Ensure cable slack and safe limits are configured to avoid collisions.
FAQs for Visual Observers
Do I really need an equatorial mount for visual observing?
No. Alt-az GoTo mounts are convenient for visual use. However, equatorial mounts offer single-axis tracking and smooth slow-motion controls, which can be especially nice at high magnifications or for sketching. If you anticipate moving into astrophotography later, starting with an equatorial mount can be a smart investment.
How accurate does my polar alignment need to be for visual use?
Not very. Within a degree is usually fine for casual observing. You’ll notice that objects stay centered longer with better alignment, but the difference is most critical for imaging. A quick polar scope alignment or rough alignment by sighting the pole star is typically enough.
What’s the advantage of a fork-on-wedge for visual?
Fork mounts can be very comfortable to use, and in equatorial mode they avoid meridian flips across much of the sky. If your telescope is a matched fork-mounted SCT, adding a wedge can give you equatorial tracking with minimal changes to your ergonomics. The trade-off is the added mass and setup complexity of the wedge.
Should I choose a heavier mount for future-proofing?
Some headroom is good, but oversized mounts are heavier and slower to deploy. If you value portability and quick sessions, a mid-capacity mount that comfortably handles your current OTA is usually the better choice. For observatory use, a heavier mount makes sense.
FAQs for Astrophotographers
How much of a mount’s rated capacity should I use for imaging?
A common guideline is 50–70% of the stated capacity for imaging, leaning toward the lower end for long focal lengths or windy sites. The moment arm and rigidity of your setup matter as much as weight. Keep the rig compact where possible.
Can I image unguided on an equatorial mount?
Yes, at short focal lengths and with a mount that has low periodic error, especially if you train PEC. Unguided performance depends on polar alignment, PE, and flexure. Many imagers guide as a standard practice because it compensates for a variety of small errors in real time.
Guide scope or off-axis guider (OAG)?
A guide scope is simpler and works well for short to moderate focal lengths. At longer focal lengths, differential flexure can become a limiting factor; an OAG uses the main optical path and eliminates flexure, improving star shapes over long integrations.
Do harmonic drive mounts guide differently?
Harmonic mounts often have distinctive periodic signatures at specific frequencies. Guiding them well may require shorter guide exposures and tuned aggressiveness to keep up with higher-frequency components. Many users obtain excellent results, particularly at short to medium focal lengths with well-balanced rigs.
How accurate does polar alignment need to be for long exposures?
For multi-minute exposures at moderate to long focal lengths, aim for polar error under a few arcminutes, and ideally near or below one arcminute. Use plate-solve assisted alignment or drift alignment to get there. Even then, guiding is recommended.
Conclusion
Equatorial mounts transform stargazing and astrophotography by aligning with Earth’s rotation and keeping the sky still in your field of view. Understanding the fundamentals—RA/Dec geometry, polar alignment, tracking, periodic error, and guiding—empowers you to get repeatable, high-quality results. Whether you choose a classic GEM, a fork on a wedge, a center-balanced design, or a modern harmonic drive mount, success comes from careful setup, thoughtful balancing, good cable management, and realistic payload choices.

If you’re upgrading or building your first serious rig, revisit the Buying Guide and Maintenance sections as a checklist. With consistent practice, even a portable equatorial mount can deliver stunning deep-sky images and effortless visual tracking. Want more? Explore our other guides on observing techniques and instrumentation to keep improving session by session.